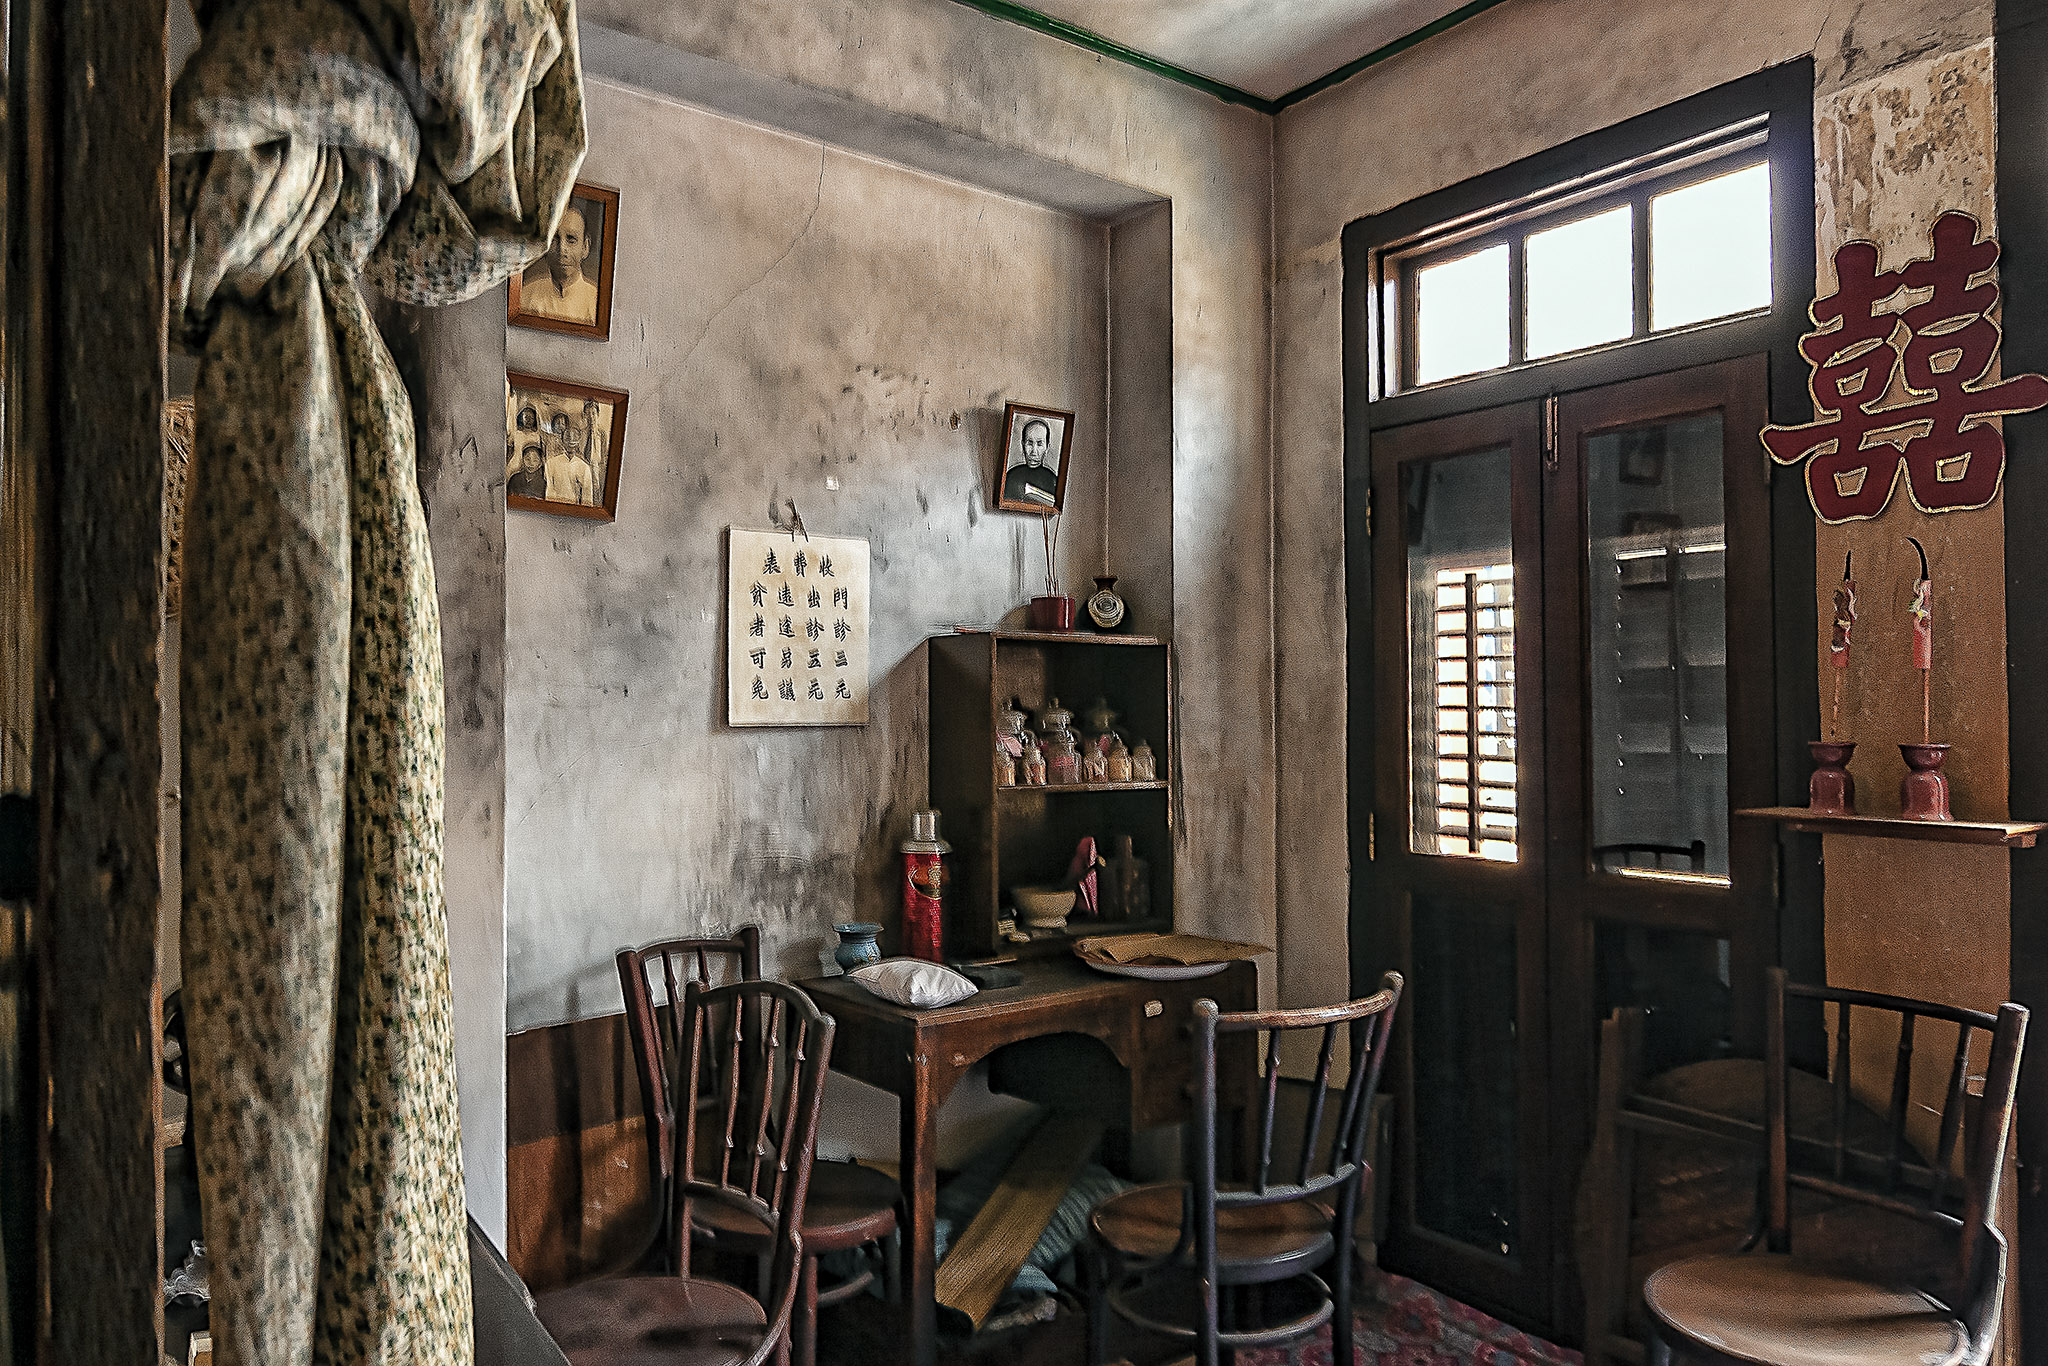
A photo that to date hasn’t been published in a post but which I’ve reworked into something viewable and a little atmospheric from its very bad original image. This was taken inside the Chinatown Heritage Centre in Singapore in 2008 during our first foreign holiday together, our honeymoon cruise to Asia on Diamond Princess. Our day in Singapore included one of our most favourite excursions on any trip we’ve had, that being to drink in Raffles and take part in a pewter bowl-making workshop. It also included a stop in Chinatown where we paid a visit to the heritage centre to hear about the history of the place and see some of the recreated interiors of shophouses, the incredibly compact, not particularly pleasant places where families would pack in as they tried to make a living and a better life for themselves. It was a fascinating place and well worth a visit but it was also very, very dark inside, and I managed to snap only one reasonably sharp photo during the short tour. This photo isn’t it. The original photo was dark, ridiculously blurred, and it’s only because I’ve been loathe to delete anything that I’ve recently revisited it to see what more advanced processing and improved skills of my own can rescue. It’s not what you’d call a perfect photo. It’s not even on the same continent as a perfect photo. Compared to what was there originally, I’ve impressed myself, however. And I like the feel of this image in spite of all its noise and still-present ghosting. For the subject matter and age, it almost feels fitting to have it look like an old, damaged painting rather than a photograph where you expect a perfect capture.
Processing-wise, the reworking of this took some standard steps to adjust for the lens, do some straightening, reduce a lot of colour noise, and sort out the levels to bring out some details. I then tried a few of the newer sharpening filters and options in Photoshop to pull out some more detail before playing around with contrast levels to bring out details again. Noise reduction was limited because the image was already very soft, and because the photo was dark and warm I finally added a cool tone over the top to drop some reds and yellows and bring out more of the greens and blues. Saturation was reduced a fraction to take out some of the harsher colour noise still present. There’s a lot more that could be done but this was a task just to produce something better than I had and sometimes you need to stop as soon as you think “Ooh, yes, I kinda like that” otherwise you risk ruining it all. A lesson for life.
